Showing posts with label july 4th. Show all posts

Sunday, June 30, 2013

July 4th Yard Decor


Note to self: do not do this craft outside in July in Arizona. Besides my heat stroke, I had a fun time making this "dynamite" yard decor. Ever notice how outside decorations are so small (besides the big blow up figures)?? The scale of this project is quite large, so it will surely be noticed from people driving by!

You will need:

8 foot fence post from Home Depot (and a husband to cut it)
5 feet of thick rope (Home Depot)
Red, white, blue, brown, and clear spray paint
painter's tape or Cricut to create design
wood glue
a drill with 3" wood bit
3" screws
plywood
raffia or ribbon


1. Cut 8 foot post to 3.5, 2.5, and 2 feet sections. It would help if your husband could temporarily drill the posts upright into the plywood or else you will be holding them and trying to paint at the same time. 

 2. Figure out the design you want and start taping. I did stripes for one post, Chevron for another, and polka dot for the last. For the stripes, paint the whole thing white, tape with painter's tape, then paint with blue. For the Chevron, I painted the whole thing white. Then I cut out several zig zag strips (came with the cartridge that comes with the Cricut) and taped those to the post, then paint in between with red. For the polka dots, I painted the whole thing blue. Then I cut out a big circle and used the surrounding paper for my polka dot stencil. I free-handed a white border to make the red stand out against the blue.
3. Have your husband drill a 1-2 inch deep hole into the top of the posts. Squirt some wood glue in there and stick in your rope. I heavily frayed the ends of the rope that are hanging down to look like the dynamite is lit. 
4. Cut out a 2x2 foot plywood piece for the stand and paint it brown. Use 3 inch screws to screw them into the base from underneath. Tie some raffia or ribbon around them and you are done!

Saturday, June 18, 2011

July 4th Outdoor Decor

It is that time of year to celebrate our great country, the U.S.A. Below are some simple outdoor hanging streamers that you can add to some posts or hang from furniture. (Don't mind my son in the background :) )

I bought ribbon, sparkly garland, hanging stars, and a sparkly boa at the $1 store. You will need wire and scissors also

Start making bows by criss-crossing the ribbon over a piece of wire, taking care to keep the design side of the ribbon facing outward.


Secure the bow with wire and fluff until you like the look. Attach to your boa ( I cut mine in half for my two posts). You will need to reinforce your boa with a long piece of wire down its entire length. I made three bows of differing ribbon and attached them evenly spaced to the boa.


I made the topper out of a bow of white tulle and a bow of sparkly garland tied together. It looks best messy, so don't worry about making it perfect.


When you secure the topper with wire, leave a long piece to tie around your posts.


Here is a completed garland. You can't see it, but I wrapped a very long piece of wire around the entire post to keep the bottom of the boa in place. If you don't it will blow in the wind and get messed up.


Have a safe and happy 4th!


Friday, July 2, 2010

"Green" Cuff


As people have a desire to conserve the environment, "green" crafting is becoming more popular. I have seen some bracelets made out of water bottles, but a paper towel roll can be used as well. Just don't get it wet. If only the World Cup sweat-bands were this cute! :)


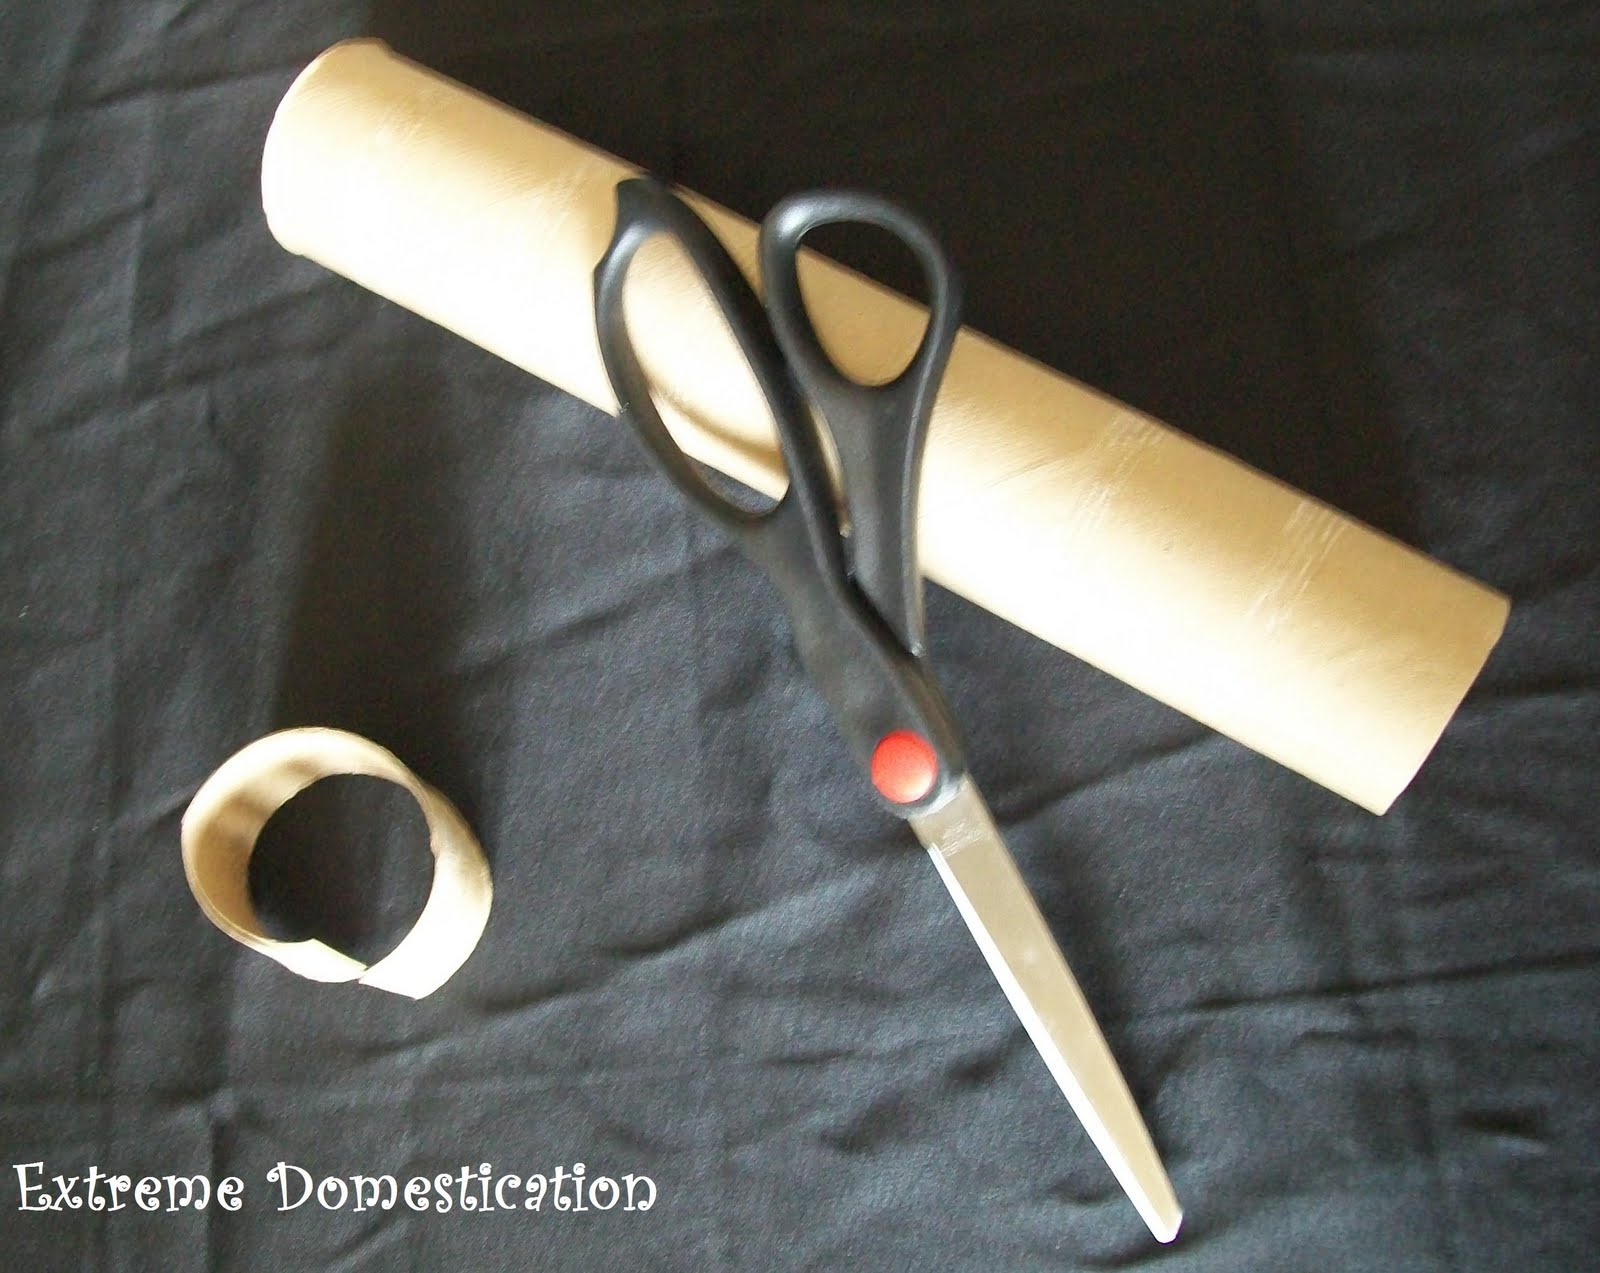
-You will need some scissors, glue and a tube from a paper towel roll or toilet paper roll. Cut the desired thickness of the cuff you want.


-Cut the tube to separate it and a small piece of elastic


-Cut tube with elastic glued to it, so it can be stretched on a wrist


-Glue the fabric or ribbon on the cuff you want to make. Use clips or some kind of clamp to get it to stick well. For the girl cuff I glued the elastic on last, the boy cuff I glued the elastic on first, then wrapped the fabric around the cuff


Boy cuff


Here is the girl version, perfect for July 4th!


Related Posts with Thumbnails